
Is your home sauna experiencing power issues, heating failures, or mysterious breaker trips? Electrical problems in home saunas can be frustrating, but many common issues have straightforward solutions when you know what to look for.
This comprehensive troubleshooting guide walks you through diagnosing and resolving the most frequent sauna electrical problems—from complete power loss to inconsistent heating. You'll learn when you can safely investigate yourself and when professional help is essential.
Whether you own a traditional sauna or the best infrared sauna for home use, this guide provides the systematic approach you need for your sauna problem.
Key Takeaways
- Most home sauna wellness electrical issues present as no power, poor heating, flickering lights, or tripping breakers—and prioritizing safety must come before any DIY fixes.
- Always shut off power at the breaker and avoid working on live circuits or inside the main panel; call a licensed electrician when the problem goes beyond basic checks.
- Troubleshooting steps differ between traditional 240V saunas and plug-in infrared sauna indoor 2-person models, but moisture protection, good wiring, and correctly sized circuits are critical for both.
- Learn to quickly diagnose common problems (no power, not heating, tripping breakers, burning smell) before diving into deeper electrical checks.
- Well-engineered, low-EMF, plug-and-play saunas from HomeSauna minimize many of these electrical headaches through quality design and proper component sizing.
Why Do Sauna Electrical Problems Deserve Immediate Attention?
Your home sauna combines three elements that demand respect: high heat, significant humidity (often 80-90% relative humidity), and substantial electrical power.
Ignoring early electrical symptoms doesn't just mean cold sessions—it can lead to shock hazards, fire risks, or permanent damage to your heater that turns a fixable issue into an expensive replacement.
In North America, most luxury home saunas run on 240V dedicated circuits with capacities up to 9 kW, requiring hefty 30-40A double-pole breakers. Meanwhile, many infrared units operate on 120V plug-and-play configurations at 15-20A.
Each system has its own typical failure modes, and understanding which type you own is the first step in effective sauna electrical troubleshooting.
Electrical faults rank among the top reasons owners retire saunas prematurely—even though many issues are entirely preventable with basic checks and annual inspections.
The good news is that quality matters here. HomeSauna designs its traditional and infrared models to minimize electrical failures through heavy-duty wiring, low-EMF heaters, and moisture-resistant controls. But any sauna, regardless of brand, can develop issues over 5-10 years of regular use.
Critical warning: If you notice any burning smell, repeated breaker trips, or visible arcing around the heater, treat it as an emergency. Shut the power off immediately at the electrical panel and do not attempt to reset until a professional has inspected the system.
What Safety Rules Must You Follow Before Troubleshooting?
Before you pick up a multimeter or unscrew a single panel cover, understand that electrical work on saunas carries real risks. Water and electricity don't mix, and the high-amperage circuits powering most saunas can cause serious injury or death if mishandled.
Non-Negotiable Safety Steps Before Troubleshooting
- Shut off the sauna breaker in your home's electrical panel—not just the wall switch or control panel power button
- Verify power is actually off using a non-contact voltage tester, or confirm that the control panel, lights, and any indicator LEDs are completely dead
- Wait until the sauna is completely cool and dry, with no standing water on floors or benches
- Use dry hands and insulated tools only
- Remove metal jewelry before working near any electrical components
- Never bypass safety devices like GFCIs, over-temperature cutoffs, or high-limit switches
Important: Only a professional electrician should remove the main sauna junction box cover, access the home's breaker panel internals, or modify 240V wiring. This isn't about skill level—it's about safety and liability.
For HomeSauna owners, opening heater housings or control modules on a unit still under warranty may affect your coverage. Consult your manual or contact our support team before attempting any advanced steps beyond basic visual inspection.
What's the Difference Between Traditional and Infrared Sauna Electrical Systems?
Good troubleshooting starts with knowing exactly what you're working with. Traditional rock-heater saunas and infrared panel systems have different voltages, electrical components, and typical failure modes.
Traditional Saunas
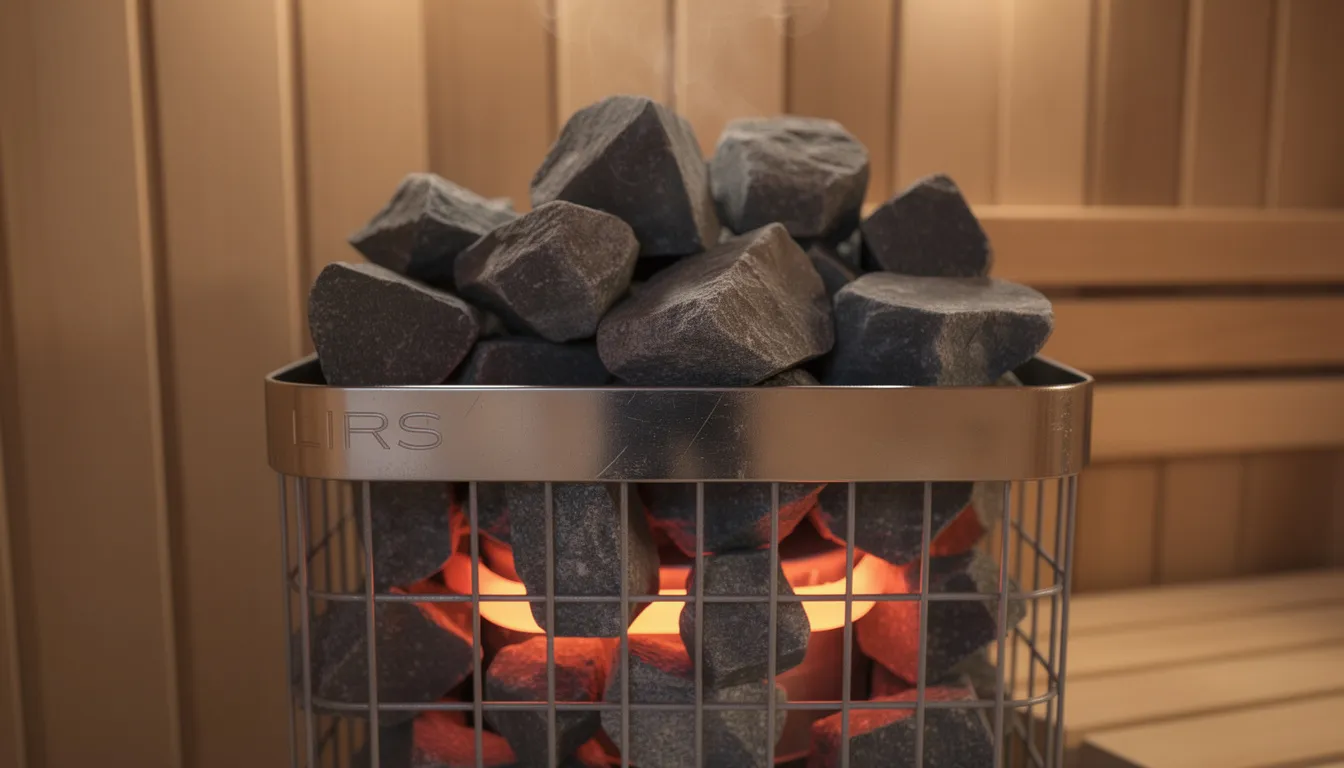
Traditional saunas typically use 6-9 kW rock heaters on dedicated 240V circuits. These require substantial breakers—commonly 20-40A depending on heater size—and generate heat through resistance elements that warm sauna stones to extremely high temperatures.
The control system usually consists of a wall-mounted thermostat or digital control box installed outside the hot room.
Common failure points include:
- Heating elements burning out or developing partial shorts
- High-limit safety switches tripping or failing
- Contactor relays in the power box are becoming pitted or stuck
- Timer mechanisms are wearing out
Infrared Saunas
Infrared saunas use multiple wall and floor panels running on 120V (sometimes 240V for larger units), typically drawing 15-20A. These systems employ low-EMF carbon or ceramic emitters distributed around the cabin, with electronic control boards managing temperature and session timing.
Common failure points include:
- Individual panel failures or loose harness connections
- Control board faults from moisture or thermal cycling
- Temperature sensor drift or failure
- Wi-Fi module issues on smart-enabled units
HomeSauna offers both modern low-EMF infrared cabins and high-performance traditional saunas. Each model includes clear labeling and wiring diagrams that simplify professional service when needed.
How Do You Quickly Diagnose Common Symptoms?
Before diving into detailed checks, use this symptom map to quickly narrow down likely causes:
|
Symptom |
Likely Electrical Causes |
|
No power at all |
Tripped breaker, GFCI trip, loose plug (120V units), failed main fuse, dead control transformer |
|
Turns on but doesn't heat |
Failed heating elements, open high-limit switch, damaged temperature sensor, incorrect timer/mode settings |
|
The breaker trips when starting |
Overloaded circuit, shorted heating elements, moisture intrusion, undersized or incorrectly wired circuit |
|
Flickering lights or display glitches |
Loose connections, failing low-voltage power supply, and wire damage from thermal cycling |
|
Burning smell or visible smoke |
Overheated wiring, melting insulation, arcing connections—shut down immediately |
The last symptom deserves special emphasis: Any burning smell, hot plastic odor, or visible smoke represents a late-stage warning that requires immediate shutdown and professional help. Do not reset the breaker or attempt to fix this yourself.
What Should You Check When Your Sauna Won't Turn On?
Power loss accounts for roughly 40% of sauna service calls, making it the most common complaint. The goal here is to rule out simple external issues before anyone opens the sauna's internal components.
Start with the Obvious
Confirm the unit is plugged in (for 120V infrared saunas). Check that the power cord connection is secure at both the outlet and the sauna.
Check GFCI outlets and breakers. Modern installations in wet areas use GFCI protection. Look for the test/reset buttons on the outlet or a GFCI breaker in your panel. Press reset if tripped.
Verify if any wall switches are on. Some installations include a separate disconnect switch near the sauna.
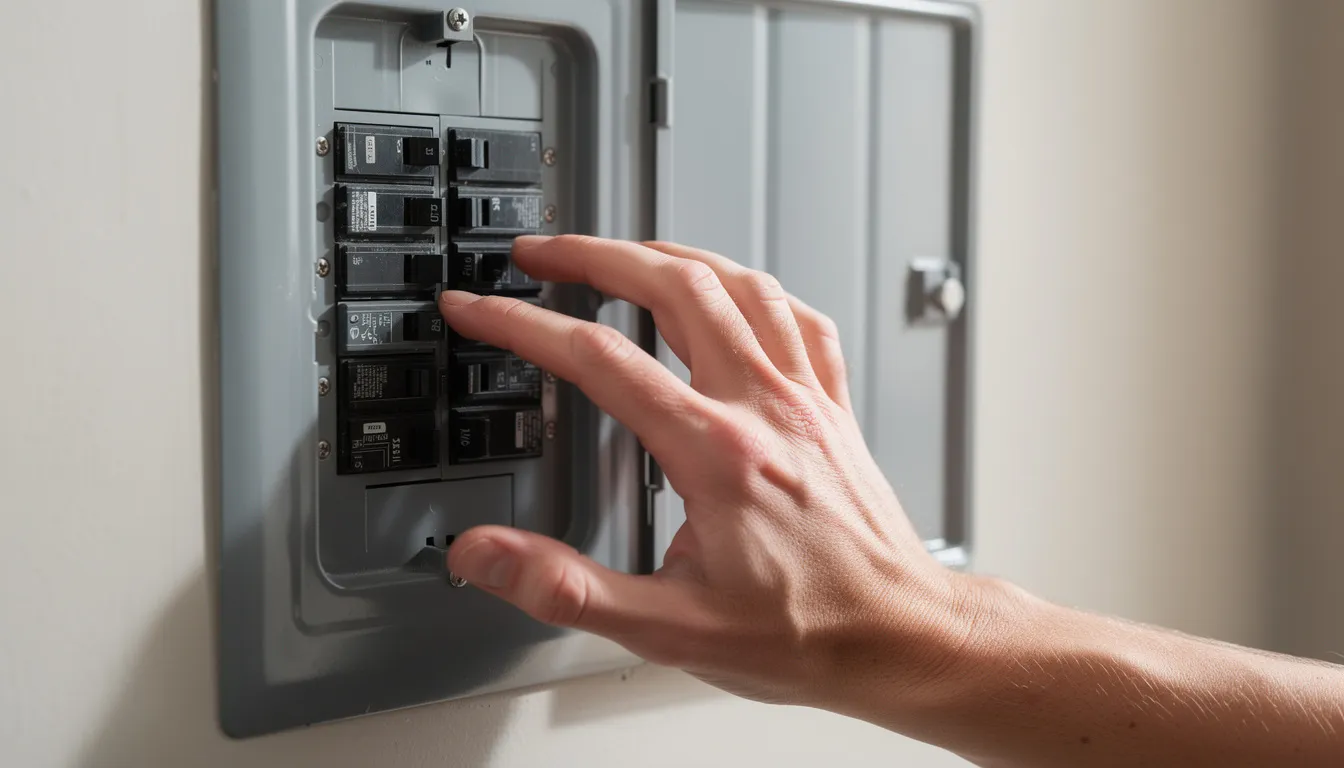
Check Your Breaker Panel
A tripped circuit breaker often sits in a middle position—not fully ON or OFF. To reset properly:
- Switch the breaker completely OFF first
- Address any suspected cause (wet floor, overloaded circuit)
- Switch firmly back to ON
If you have a 120V infrared sauna, check whether other devices share that circuit. Hair dryers, treadmills, or space heaters added to a 15A line can easily push total current draw past safe limits when the sauna starts up.
Visual Inspection
Examine the main power cord for:
- Nicks or cuts in the insulation
- Crushed sections under benches or furniture
- Signs of overheating at the plug or receptacle (discoloration, melted plastic)
If any damage is visible, do not use the sauna until the cord is replaced by a qualified technician.
When to Call a Professional
If the breaker trips immediately when turned back on—especially on a 240V traditional heater—stop attempting resets. This pattern indicates a short circuit or ground fault that a licensed electrician must diagnose using proper test equipment.
Repeated resets can cause arc faults that risk fire.
Why Won't Your Sauna Reach the Set Temperature?
Understanding normal heat-up expectations helps identify genuine problems:
Traditional saunas (6-8 kW): 30-45 minutes to reach 80-90°C
Infrared saunas (HomeSauna models): 15-25 minutes to reach 50-65°C operating temperature
Rule Out User Error First
Before assuming an electrical problem, verify:
- Temperature setpoint is correct on the control panel
- No delay timer is active
- The door is fully closed and latched
- Vents aren't stuck wide open, causing excessive air circulation and heat loss
Traditional Sauna Heating Issues
If only the top portion of the heater seems hot while the rocks stay cool, one or more heating elements may have burned out. Traditional heaters often contain multiple elements—when one fails, the unit still produces some heat but cannot reach full temperature.
Testing element continuity requires a multimeter and should be performed by a professional. Healthy elements typically show continuity below 10 ohms per 1kW of rated power.
Stone maintenance matters too: Sauna stones that haven't been replaced in 3-5 years, are packed too tightly, or have crumbled into small pieces, can block airflow. This causes local overheating that trips safety switches while delivering weak overall heat.
Redistribute or replace 20-40kg of stones annually for optimal performance.
Infrared Sauna Heating Issues
With power off and panels cooled, check each panel by touch (carefully) during a subsequent session. Panels that consistently stay cooler than others may indicate:
- A failed emitter section
- Loose harness connection at that panel
- Damaged wiring to that zone
Cycling or Premature Shutoff
If the heater cycles on and off prematurely or never reaches the set temperature, the high-limit switch, thermostat, or relay in the control module may be failing.
These components protect against overheating but can malfunction after years of thermal cycling. This repair should be handled by an electrician or the manufacturer's service team.
What Causes Temperature Sensor and Thermostat Problems?
Modern saunas rely on temperature sensors, over-temperature cutoffs, and digital thermostats working together. When this feedback loop fails, you'll see underheating, overheating, or cryptic error codes on the sauna control panel.
Symptoms of Sensor Trouble
- Temperature display reads wildly different from a separate thermometer placed at the same height
- Heaters shut off when the room is still cold
- Digital panels flash sensor error codes (E1, E2, E5, E6, or similar)
- Heater runs continuously, and the room overheats
Traditional Sauna Sensors
Traditional saunas typically use a mechanical or electronic thermostat with a sensor bulb or probe mounted high on the wall near the ceiling. Issues arise when:
- Dust accumulates on the sensor
- The sensor was accidentally relocated during renovations
- Cold drafts from poor ventilation contact the probe
- The capillary tube connecting the sensor bulb becomes crimped
Infrared Sauna Sensors
Infrared sauna sensors are usually small probes or thermistors mounted near the ceiling. These can be tricked into premature shutdown when:
- Towels or robes are hung over the sensor
- Accessories or aftermarket heat shields block the sensor
- Moisture accumulates around the probe
What You Can Do
- Gently clean sensors with a dry cloth
- Verify sensors are mounted at the manufacturer-specified height and location
- Compare the displayed temperature with a known-accurate thermometer
What requires a professional: Replacing thermostats, sensors, or control boards involves working on both line voltage and low-voltage circuits simultaneously. Contact a licensed electrician rather than swapping parts blindly.
How Do You Fix Flickering Lights and Control Panel Issues?
Sauna lights and control panels are often the first visible sign of deeper electrical instability, particularly in saunas installed before 2012 with older electronics.
Flickering or Dim Lights
Start with simple fixes:
- Check and tighten bulbs when the sauna is cool
- Replace bulbs with sauna-rated LED or incandescent units designed for high heat
- Examine light fixtures for moisture or heat damage
If flickering persists across multiple lights, the problem likely involves a loose neutral connection, corroded wire nuts, or a failing low-voltage transformer. These issues require a licensed electrician to diagnose and repair safely.
Blank or Unresponsive Control Panels
Try a soft reset first:
- Unplug the unit or shut off the breaker
- Wait 60 seconds (longer for traditional units with thermal cutouts)
- Restore power and test
If accessible, visually check low-voltage harnesses for obvious looseness—but don't pull on wires directly.
Erratic Displays and Intermittent Buttons
Random shutoffs, buttons that only work sometimes, or scrambled displays often result from:
- Moisture wicking behind the panel gasket
- Thermal cycling damaging solder joints on the circuit board
- Failing power supply capacitors
For HomeSauna units, contact our support team with your model number and year of purchase. We can supply updated, moisture-protected control modules when replacement is needed.
What Causes Breaker Trips and Strange Noises?
Frequent tripping and unusual noises—buzzing, crackling, or popping—are early warning signs of serious electrical issues, not mere annoyances to ignore.
Understanding Different Types of Trips
Standard breaker trips occur from overcurrent—the circuit is drawing more amps than rated. This happens when loads are too high or when shorted components create momentary current spikes exceeding 100A.
GFCI trips detect ground faults—current leaking to ground through an unintended path, often through moisture or damaged wiring. Many indoor saunas installed after 2017 near wet areas require GFCI-protected circuits per updated electrical codes.
Breakers Tripping After 10-20 Minutes
If your breaker trips after the sauna has been running a while rather than immediately at startup, potential causes include:
- Borderline wire sizing that heats up under sustained load
- Loose lugs in the subpanel creating resistance
- Aging heaters drawing more current as electrical components degrade
Diagnosing these problems requires an ammeter to measure actual current draw under load—work for a professional electrician.
Unusual Noises to Take Seriously
|
Sound |
Possible Cause |
Action |
|
Continuous buzzing |
Relay or contactor vibration |
Have checked soon |
|
Sizzling or crackling |
Arcing connections or water in components |
Shut down immediately |
|
Popping near the heater |
Carbonized insulation or loose wires |
Shut down immediately |
Any arcing sounds demand immediate shutdown at the breaker. Do not reset until a licensed electrician or qualified sauna technician has inspected for damaged wires or corroded terminals.
Reducing Future Trips
When installing a new home sauna, upgrading to a correctly sized dedicated 240V circuit with quality GFCI/RCBO protection dramatically reduces nuisance trips while improving safety.
Our installation documentation specifies exact breaker and wire gauge requirements for each model.
How Does Moisture Cause Electrical Failures?
Repeated exposure to steam, condensation, and occasional leaks around doors or ceilings can infiltrate junction boxes, fixtures, and control panels over several years. Humidity levels of 80-90% create a challenging environment for any electrical system.
Visible Warning Signs
Watch for these indicators of moisture-related damage:
- Discolored or swollen wood around light fixtures
- Rust on metal housings or junction box covers
- Condensation trapped under light lens covers
- Mineral streaks or white deposits around wiring penetrations
- Green corrosion on copper terminals (indicates electrolytic corrosion)
How Moisture Causes Electrical Problems
Water on or within electrical components leads to:
- Intermittent shorts and ground faults
- Nuisance GFCI trips that seem random
- Progressive corrosion of terminals at rates of 0.1-0.5mm per year
- Increased resistance at connections, generating dangerous heat buildup
Preventive Measures
Improve your ventilation routines to reduce moisture damage:
- Leave the sauna door open after each session to allow proper air circulation
- Keep vents unobstructed
- Use fans in adjacent rooms to draw moisture away
- Wipe excess moisture from benches, floor, and heater surrounds after sessions
- Clean debris from vent openings regularly
When Replacement Is Necessary
Any component showing green corrosion, blackened insulation, or water pooling inside covers should be taken out of service immediately.
Don't try to dry and reuse water-damaged electrical parts—have an electrician replace them and inspect the full circuit for hidden damage.
HomeSauna designs fixtures, conduits, and controls with enhanced moisture resistance. However, even these systems need periodic inspection, especially in outdoor infrared saunas or lakeside installations exposed to winter-summer temperature extremes.
When Should You Stop DIY and Call a Professional?
Homeowners can safely perform basic checks—inspecting plugs, resetting breakers, and looking for obvious damage. Beyond those steps, professional expertise becomes essential to avoid injury, fire, or voiding insurance coverage.
Red-Line Situations Requiring Immediate Professional Help
Stop all troubleshooting and call a licensed electrician if you encounter:
- Any burning smell or visible smoke
- Melted plastic on outlets, plugs, or control panels
- Repeated immediate breaker trips
- Tingling sensations when touching metal parts of the sauna
- Evidence of rodent-chewed wires or damaged wires
- Unusual noises like crackling or buzzing from electrical enclosures
Tasks That Always Require a Professional
The following work must only be performed by a licensed electrician familiar with sauna loads and local electrical code:
- Opening heater housings or main junction boxes
- Rewiring control panels or replacing faulty wiring
- Replacing or upgrading breakers
- Running new circuits or modifying existing electrical system wiring
- Any sauna repair involving 240V connections
Older Saunas and Previous DIY Modifications
If your sauna is over 10 years old or has undergone DIY modifications by previous owners, schedule a comprehensive electrical safety inspection before heavy winter use.
Hidden problems in loose wires or degraded insulation can become dangerous under increased seasonal usage.
For older, non-branded saunas with recurring electrical problems, it may be safer and more cost-effective to replace the system with a modern low-EMF HomeSauna unit built to current standards than to keep repairing outdated equipment.
What Preventive Maintenance Prevents Future Problems?
A few simple habits can dramatically cut the risk of electrical issues and extend sauna heater life well beyond 10 years. Regular maintenance is the best way to protect your investment and ensure your sauna is functioning properly for years of relaxation.
Seasonal Inspection Checklist (2-4 Times Per Year)
- Inspect cords, plugs, and visible wiring for damage, wear, or discoloration
- Test GFCI outlets and breakers using the test/reset buttons
- Confirm all panel screws and light fixture covers are snug
- Check that the power source connection remains secure
- Look for signs of pest activity near electrical penetrations
Traditional Sauna Maintenance
- Restack and inspect stones annually
- Remove broken or crumbled pieces that restrict airflow
- Ensure gaps between stones allow proper convection
- Check for stone debris that may have fallen onto heating elements
Poor stone maintenance creates hotspots that stress elements and trip high-limit switches. Addressing ventilation problems and stone condition extends element life significantly.
General Moisture Management
- Keep vents clear at all times
- Wipe condensation off light fixtures and controls after sessions
- Leave the door open after use to reduce humidity levels
- Never splash water directly on electrical components
Monitor Your Energy Usage
Track your electric bills over time. A sudden, unexplained increase associated with sauna use can indicate failing elements or inefficient controls drawing more current than normal. This early warning often appears before other symptoms.
Annual Professional Service
For heavy users or commercial cold plunge tub wellness center installations, schedule yearly service by a qualified technician. Professional maintenance should include:
- Tightening all electrical connections
- Checking insulation resistance
- Verifying thermostat calibration
- Testing safety cutoffs and high-limit switches
- Inspecting the warranty-covered components
Get Professional Support for Your Sauna
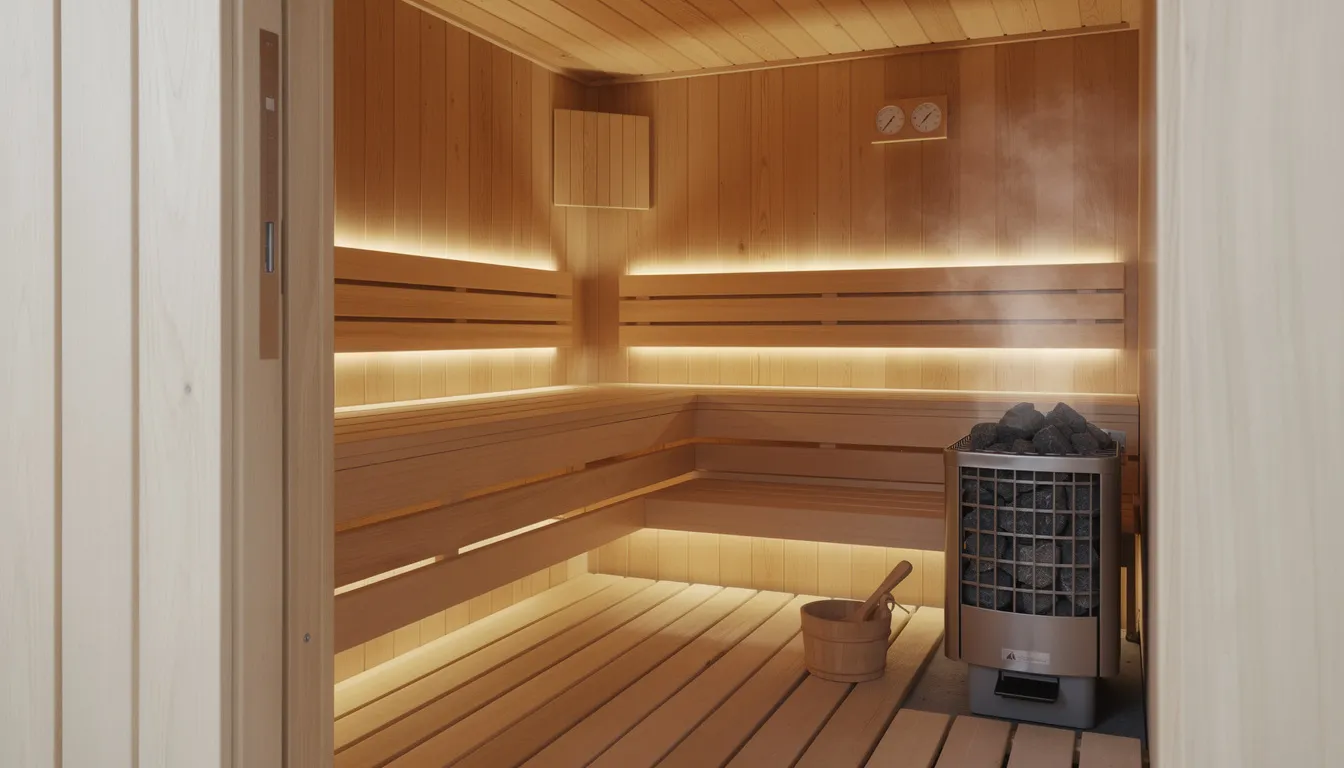
HomeSauna builds both traditional and infrared models specifically to reduce the common electrical problems that plague cheaper units. Our engineering team understands that a sauna represents a significant investment in your health and relaxation—the last thing you need is electrical headaches interrupting your wellness routine.
Design Features That Matter:
- Low-EMF carbon and ceramic emitters in our infrared models deliver consistent, efficient heat without electromagnetic field concerns
- Heavy-duty cabling sized for real-world loads—not just minimum code requirements—reduces heat buildup in wiring
- Moisture-resistant control panels tested in high-humidity environments resist condensation infiltration
- Quality contactors and relays in traditional units handle substantial current draw without premature failure
Many HomeSauna infrared units are designed for standard 120V outlets, eliminating complex 240V wiring for smaller cabins while still respecting amp limits and safety margins.
Ready To Upgrade To A More Reliable Sauna?
There’s no doubt that sauna electrical issues can be frustrating. But even so, most common problems are easy to identify and fix with the right guidance. At HomeSauna, we’re committed to helping you enjoy a worry-free sauna experience. We design our saunas with reliability and support in mind, making maintenance simple for homeowners. Visit our website if you need help planning or upgrading, and get to explore dependable sauna electrical troubleshooting solutions and expert support.
Frequently Asked Questions
Do I really need a dedicated circuit for my home sauna?
Most 240V traditional saunas absolutely require a dedicated circuit sized to the heater—commonly 30-40A with no other loads sharing the wiring. Many 120V infrared cabins also perform best on a dedicated 15-20A line, even if code technically permits shared circuits.
Sharing the circuit with large appliances, space heaters, or high-draw tools is a common cause of nuisance tripping and wiring that runs hot. This problem appears frequently in older homes built before 1995 with less robust electrical infrastructure.
Have a licensed electrician confirm that the wire gauge and breaker size match your sauna's nameplate rating before first use. A blown fuse or tripped breaker during your first session usually indicates circuit inadequacy.
How long do sauna heating elements and panels usually last?
High-quality traditional elements typically last 8-20 years with normal use. Premium infrared panels can exceed 15,000 operating hours—roughly 10-15 years for someone using their sauna 3-4 times weekly.
Running the sauna at maximum temperature constantly, poor ventilation causing element oxidation, and failing to maintain the stones all shorten the lifespan. Good airflow and correct wiring help elements run cooler and last longer.
A noticeable drop in heating performance or new hot/cold spots after years of stable operation is often the first sign that an element or panel is nearing the end of its life. At that point, replacement rather than continued troubleshooting becomes the right choice.
Can I plug my infrared sauna into any household outlet?
Many compact infrared saunas from HomeSauna are designed for standard 120V outlets, but amp draw varies by model and must match the outlet and circuit rating. Check the nameplate on your unit for actual requirements.
Never use long, undersized extension cords, power strips, or adapters. These create a voltage drop, cause plug and outlet overheating, and significantly increase fire risk. The power cord should connect directly to a wall outlet.
If your existing circuit is heavily loaded or you're experiencing issues, have an electrician install a dedicated receptacle. This modest investment prevents dangerous situations and ensures your sauna operates as designed.
Is it safe to use my sauna during a thunderstorm or power fluctuation?
Frequent brownouts, surges, or nearby lightning strikes stress electronic control boards and relays in both traditional and infrared saunas. A power surge can damage sensitive components instantly.
Avoid sauna use during active severe thunderstorms. For areas with unstable electricity, consider installing whole-home surge protection or at least a surge-protected disconnect for the sauna circuit.
If the sauna suddenly shuts down during a voltage event and won't restart after the storm passes, have a professional check for damaged controls or power supplies before attempting further use.
What should I do if a rodent or pest chews sauna wiring?
Any sign of gnawed insulation, droppings in junction areas, or nests near wiring means the sauna should be taken out of service immediately. This isn't something to inspect more closely—it's dangerous.
Chewed wires expose live conductors that can arc, cause fires, or deliver lethal shocks. These damaged sections cannot be safely repaired with tape or DIY splices, regardless of electrical skill level.
Call a pest control service to prevent recurrence, then have a licensed electrician replace all damaged conductors and inspect the entire wiring run for hidden damage. The cost is worthwhile compared to the risks of operating with compromised electrical system integrity.
References
- National Fire Protection Association – “NFPA 70 (NEC) Code Development.”
- Energy Star – “Make Humidification Adjustments.”
- Sauna Fin – “Sauna Heater FAQs.”
- Haven of Heat – “Signs Your Sauna Heater s Failing (and When to Replace it.”