
Mold in your sauna can turn your wellness sanctuary into a health hazard. Whether you've invested in the best infrared sauna for home use or a traditional outdoor model, proper maintenance is essential to protect your investment and your health.
This comprehensive guide reveals proven strategies to keep your home sauna mold-free, from daily habits to long-term design choices. You'll discover why certain materials resist mold better, how to optimize ventilation, and what to do if mold has already appeared.
Key Takeaways
- Mold prevention in saunas starts with three fundamentals: strong airflow, thorough drying after every session, and regular cleaning.
- The fastest mold-prevention method is to keep your heater running on low for 30–60 minutes after each sauna session and leave the sauna door open to fully dry the interior.
- Mold thrives in stagnant, humid environments, so managing high humidity levels to dry the interior fully is critical to prevention
- Three core principles (Good ventilation, keeping interior wood untreated, and maintaining humidity levels below 50–60% RH when the sauna is idle) form the foundation of mold prevention
- Material matters: HomeSaunas designs both infrared and traditional saunas with optimized air flow and quality woods like western red cedar that naturally resist mold growth
- Early action saves wood: If mold has already appeared, you'll learn proven methods to treat it before it causes structural damage
- Indoor, outdoor, barrel, and infrared saunas each have unique considerations covered in this guide
Why Do Saunas Get Mold (And Why Does It Matter)?
Mold loves warm, damp, poorly ventilated spaces—and saunas check all three boxes if not maintained properly. Understanding why mold grows in your sauna is the first step toward preventing it.
Where Mold Hides
Not all saunas develop mold in obvious places. Common mold-prone spots include:
|
Location |
Why It's Vulnerable |
|
Floor corners |
Water pools and drains slowly |
|
Under benches |
Limited airflow, trapped moisture |
|
Behind the heater |
Heat creates condensation on adjacent surfaces |
|
Door threshold |
Constant temperature differential causes condensation |
|
Back of benches |
Sweat accumulates, rarely cleaned |
|
Under duckboards |
Standing water goes unnoticed |
Mold vs. Normal Wood Darkening
It's important to distinguish between actual mold and general discoloration. The high heat of sauna use naturally darkens wood over time—this is normal and not a concern.
Actual sauna mold appears as black, green, or white fuzzy patches, often accompanied by a musty odor. If you see spots or sweat stains that wipe away easily, that's surface grime. If the discoloration is embedded and fuzzy, you're dealing with mold.
Why It Matters
Mold in your sauna isn't just unsightly. Health risks of mold include respiratory irritation, allergies, and headaches—exactly the opposite of the wellness benefits you're seeking. Structurally, unchecked mold growth leads to wood rot, permanent staining, and hardware corrosion.
Real-world example: An indoor cedar sauna used 4–5 times per week without proper drying can show visible mold on lower bench slats within 1–2 months. The 28–48-hour window between sessions is exactly when mold spores activate and colonize damp surfaces.
How Can You Ensure Strong Airflow and Fast Drying After Each Session?
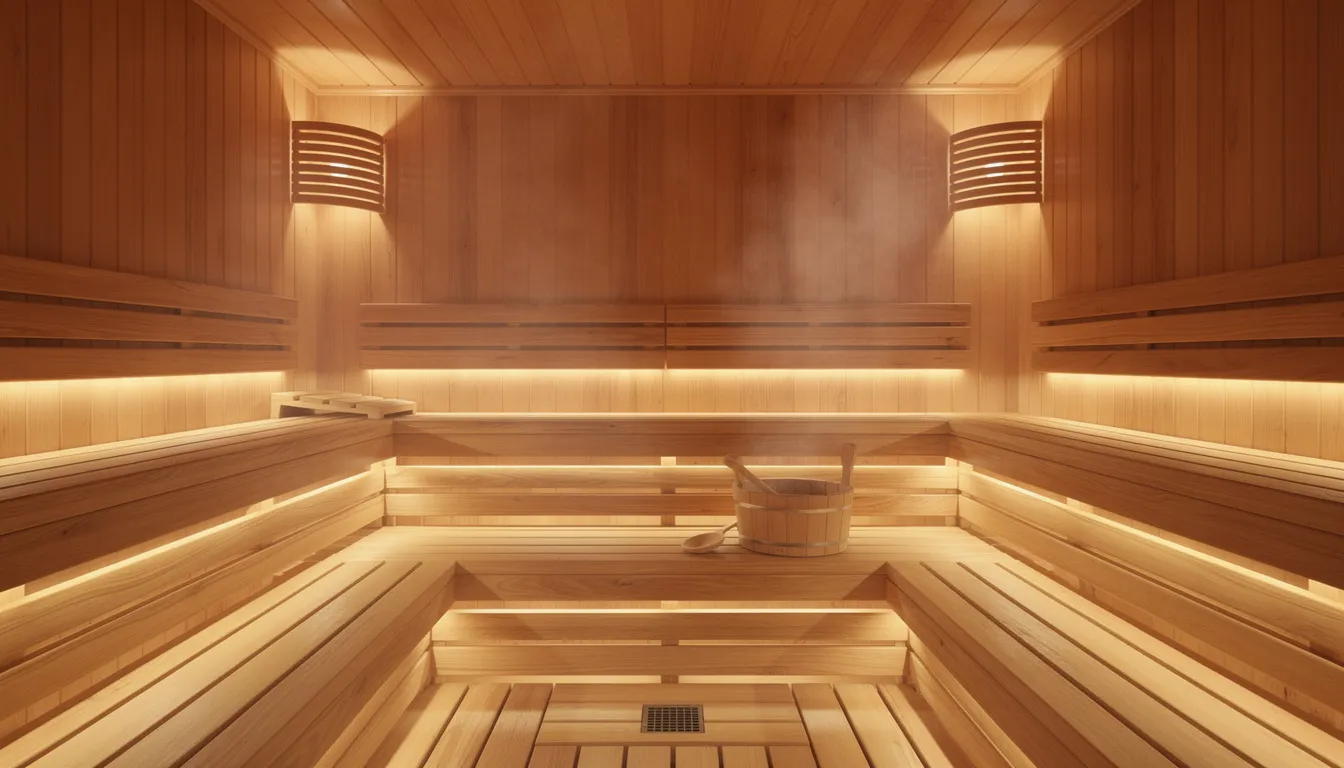
Proper air flow and thorough drying are the most important measures to take in preventing mold. It's crucial to get air circulating in the sauna to prevent mold and moisture buildup. Every sauna session should end with a deliberate "drying phase" that removes moisture before spores can activate.
The Post-Session Drying Routine
After your last round, follow this proven method:
- Keep heat running: Turn the heater to a moderate setting (150–170°F) for 30–60 minutes to drive moisture out of the wood
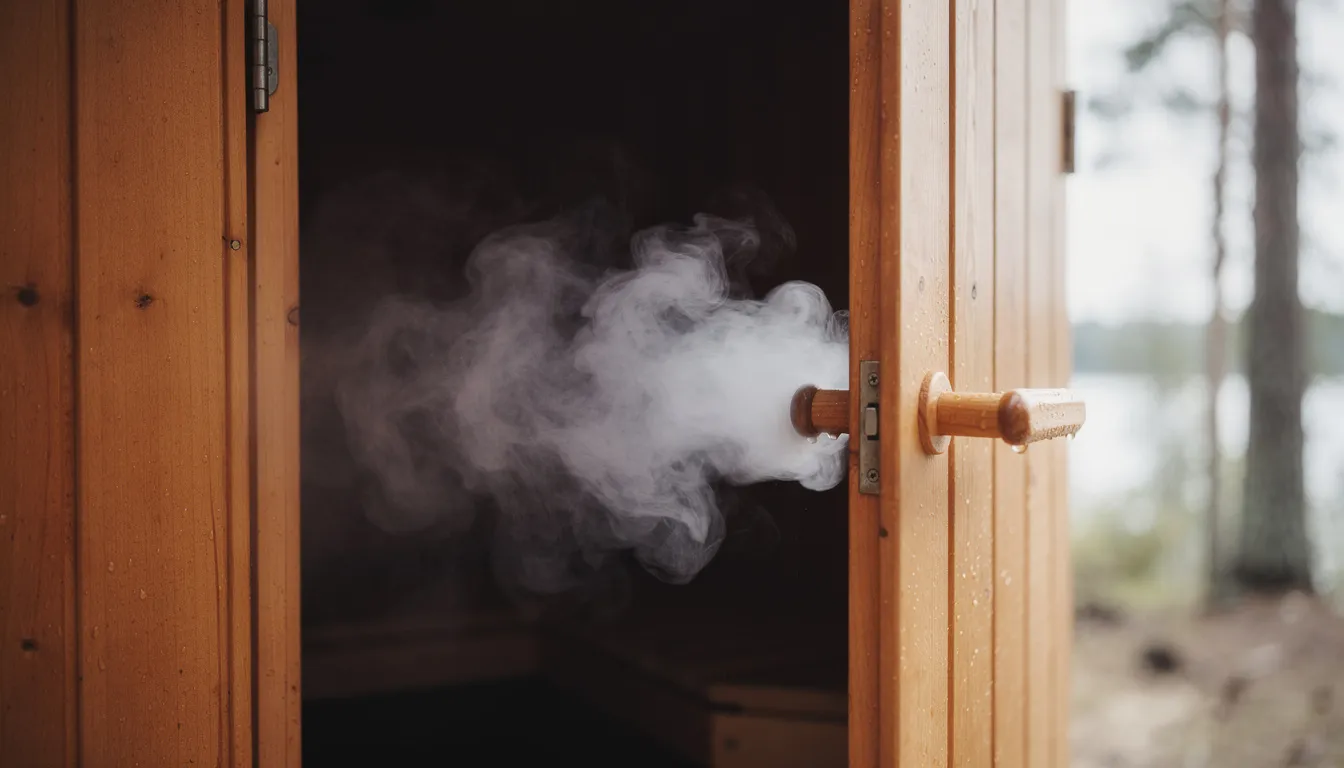
- Open the door: Leave the sauna door open—fully or at least cracked—so humid air can escape, and fresh air can enter
- Prop removable items: Lift benches, backrests, and wooden floor grates slightly so air can circulate underneath and between slats
- Open all vents: Ensure roof and wall vents are fully open during the cooling period
This half hour to an hour of post-session drying is what separates mold-free saunas from problematic ones.
Indoor Sauna Considerations
For home infrared sauna installation projects, the surrounding room also needs attention. Run a nearby bath fan or whole-house ventilation for 30–45 minutes after each session to exhaust humid air from the sauna area. Without this, moisture simply migrates to your walls and ceiling.
Outdoor Sauna Considerations
For outdoor infrared sauna units, orient vent openings away from the prevailing rain direction. If natural airflow proves insufficient—common in humid climates—consider installing small powered vents with humidity sensors that activate automatically.
HomeSaunas units are engineered with intake and exhaust vents placed to promote a continuous airflow path from lower front to upper rear, creating the 15–20 air changes per hour needed for effective moisture removal.
Getting Two Vents to Work Together
The key is creating cross-ventilation: one low intake vent (often near the heater) draws in fresh air while a higher exhaust vent on the opposite wall or ceiling expels humid air. This simple principle keeps air circulating throughout every nook and cranny of the cabin.
Why Should You Keep Interior Wood Breathable?
One of the most counterintuitive yet critical rules: you want the wood untreated on interior surfaces. Sauna wood needs to be able to breathe easily—absorbing moisture during use and releasing it naturally during drying.
Coatings trap humidity beneath the surface, creating a hidden environment where mold thrives. Sealing or staining the wood in a sauna traps moisture and creates conditions conducive to mold growth.
What Not to Use Inside
Never apply these to interior benches, walls, ceiling, or backrests:
- Paint
- Polyurethane
- Deck sealants
- Glossy varnishes
- Waterproofing sprays
If you paint the inside of your sauna with varnish or seal it, you're essentially creating a moisture trap. The wood can't release absorbed sweat and steam, keeping humidity levels elevated even when the sauna appears dry.
Exterior vs. Interior Treatment
Exterior walls are different—they benefit from weather-rated finishes to protect against rain, snow, and UV damage. But never paint varnish or seal interior surfaces, especially seating areas that contact your body.
Best Woods for Mold Resistance
Choose naturally resistant species for home sauna installation:
|
Wood Type |
Mold Resistance |
Why It Works |
|
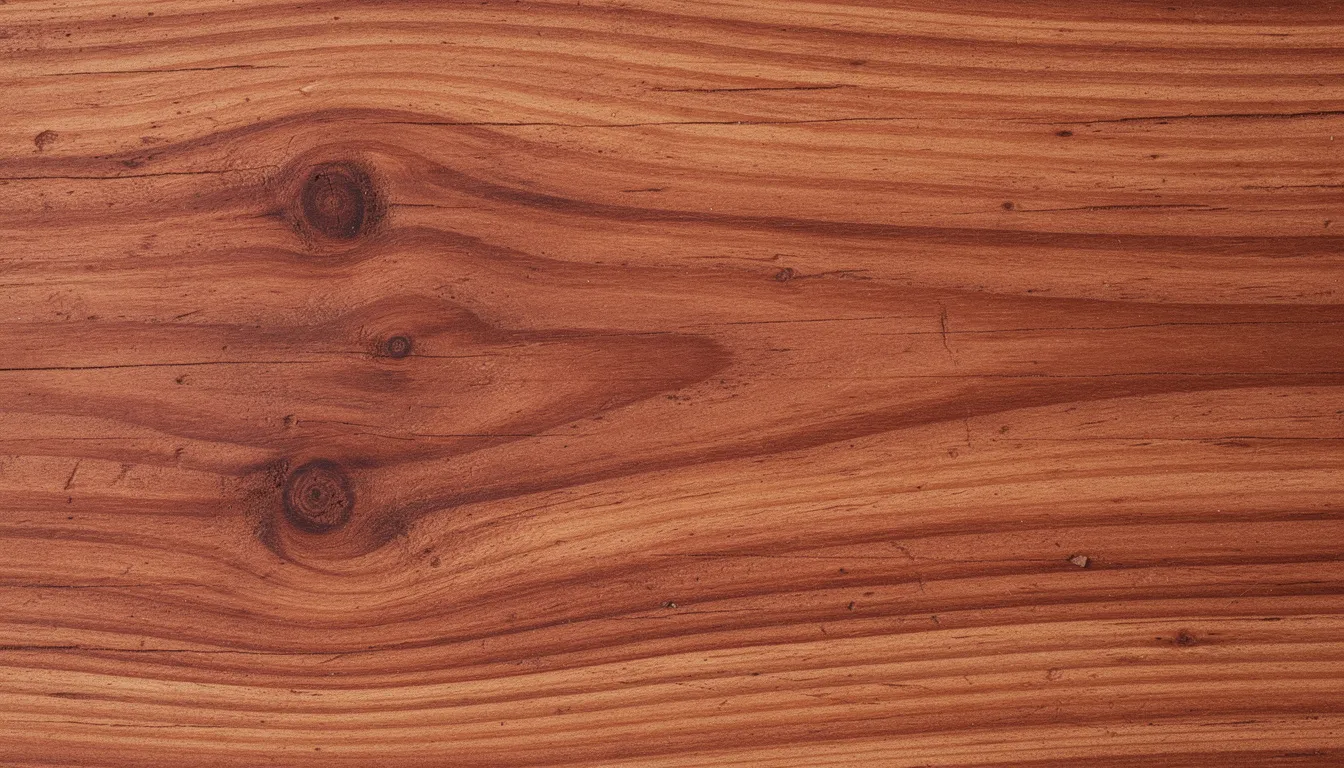
Western Red Cedar |
Excellent |
Natural antimicrobial oils, low density |
|
Hemlock |
Good |
Tight grain, minimal resin |
|
Spruce |
Good |
Breathable, affordable |
|
Aspen |
Good |
Hypoallergenic, smooth surface |
|
Basswood |
Moderate |
Soft, easy to clean |
Cedar stands out for its dimensional stability under humidity swings and natural resistance to rot—it's a key material in many HomeSaunas models for exactly these reasons.
Protecting Wood During Use
Rather than sealing, protect your wood in your sauna through use habits:
- Place clean cotton or linen towels on benches each session to limit sweat and body oils from absorbing into the boards
- Consider installing a small digital thermo-hygrometer at bench height to verify humidity stays below 50–60% RH when idle
What Simple Cleaning Routine Should You Adopt?
Mold can begin forming on damp wood within 24–48 hours of exposure to humid conditions. Light but frequent sauna cleaning is far more effective than occasional heavy scrubbing at preventing mold growth.
Daily/After-Every-Use
Complete these steps immediately after each session:
- Wipe benches and backrests with a damp microfiber cloth and warm water
- Use a mild wood cleaner for any visible sweaty spots or dirtier spots
- Quickly mop up puddles on the floor
- Hang towels immediately to dry outside the sauna
- Wipe sweat off the wood before it penetrates the grain
This takes 5–10 minutes and prevents moisture accumulation from becoming a problem.
Weekly Routine
Once per week, perform a more thorough inspection:
- Check corners, under benches, and around the heater for dark spots or musty odors
- Inspect the sauna door frame and threshold for moisture buildup
- Gently scrub any problem areas with a soft-bristle brush and a solution of warm water plus pH-neutral wood soap
- Look behind backrests and in any hidden areas where moisture could collect
Monthly Deep Clean (Every 20–30 Uses)
For regular users, schedule a deeper clean monthly:
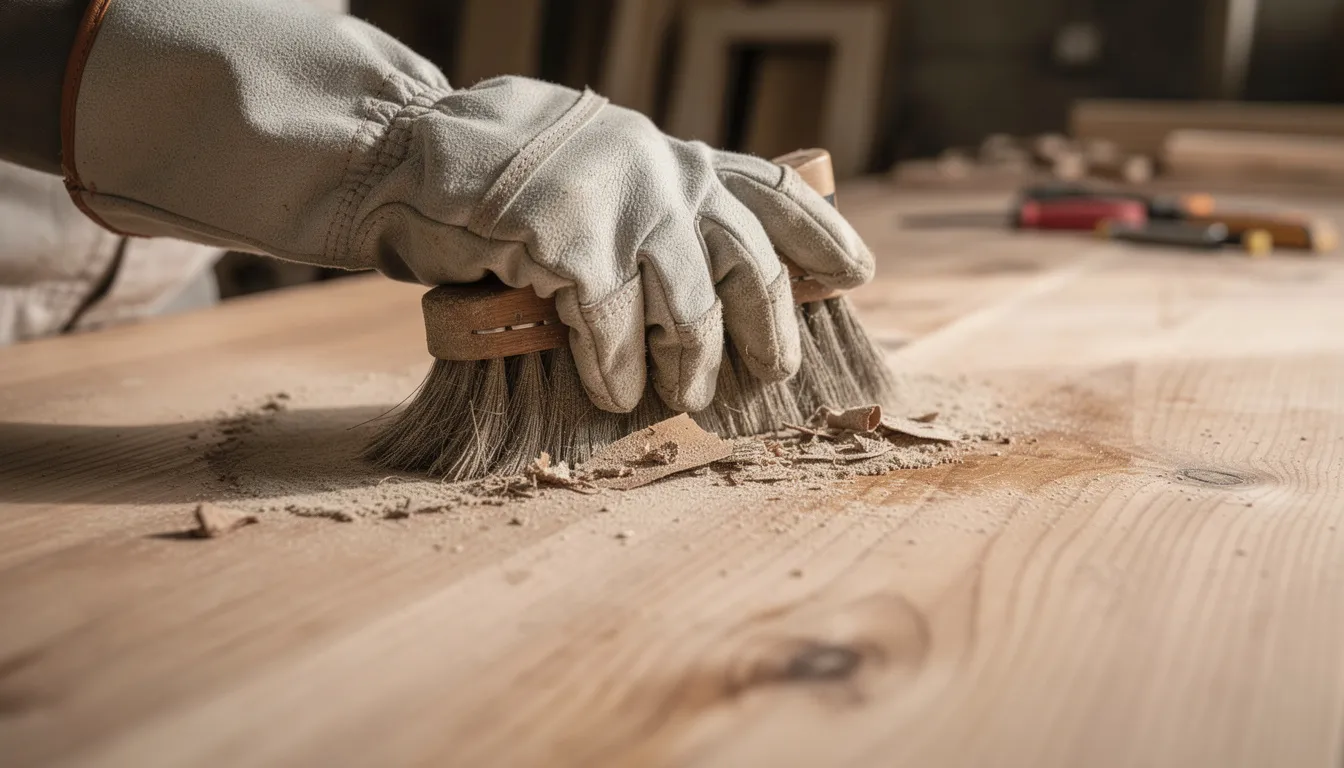
- Lightly sand rough, stained, or heavily used bench areas to remove sweat stains over time
- Vacuum dust from under the benches and around the heater
- Rinse sauna stones and remove any cracked pieces
- Clean excessively wet areas near the floor and door
- Run a 30–45-minute heat cycle at 140–160°F with vents partially open to evaporate any cleaning residue
What to Avoid
Harsh chemicals degrade wood and metal over time. Avoid these for regular cleaning:
- Straight bleach
- Ammonia
- Abrasive powders or pads
Reserve stronger solutions only for targeted mold remediation when absolutely necessary.
Pro tip: Create a simple checklist and keep a small "sauna care kit" nearby—soft-bristle brush, microfiber cloths, mild cleaner, fine sandpaper, and a bucket. Consistency becomes automatic when supplies are accessible.
How Do You Control Moisture at The Source?
You want to enjoy a proper sauna experience—including steam and löyly—without flooding the cabin and soaking every surface. Managing excess moisture at the source is easier than fighting it after the fact.
Traditional Sauna Water Use
For traditional saunas with sauna stones:
- Use moderate ladles of water rather than continuous pouring
- Never throw water directly on walls or benches
- Allow stones to fully reheat between ladles
- Remember: it can get steamy in the sauna without drenching every surface
Even if you enjoy a steam bath, moderation prevents moisture overload that can overwhelm your sauna's drying capacity.
Floor Design and Drainage
Proper sauna floor design makes a significant difference:
|
Sauna Type |
Recommended Floor |
Drainage |
|
High-use traditional |
Sloped tile or sealed concrete |
Floor drain essential |
|
Moderate-use traditional |
Sealed concrete or duckboards |
Drain recommended |
|
Infrared |
Wood with removable mats |
Drain optional |
|
Outdoor cabin |
Raised wood with gaps |
Natural drainage below |
If you have an existing sauna without a drain, minimize hose spraying for cleaning. Instead, rely on damp mopping with controlled amounts of water. Installing a drain in existing saunas, while beneficial, can be a significant renovation.
Idle Humidity Targets
When not in use, aim for 10–30% RH inside the cabin. Achieve this by:
- Keeping vents open or cracked when the sauna isn't running
- Running a dehumidifier in the room housing the sauna (not inside the sauna itself)
- Ensuring the space remains completely dry between sessions
Outdoor Sauna Weatherproofing
For the best outdoor infrared sauna and barrel models, perform seasonal maintenance:
- Check door and window seals every spring
- Inspect roof lines for potential leaks
- Verify that exterior weatherproofing remains intact
- Look for signs of rainwater intrusion around joints
HomeSaunas' traditional models and infrared cabins are designed with proper floor clearances and venting to help moisture escape rather than accumulate at the base of walls.
Why Should You Choose Mold-Resistant Materials and Smart Design Features?
Good design upfront makes methods to prevent mold dramatically easier over the entire lifespan of your sauna. When shopping for a new unit or evaluating your current one, consider these factors.
Why Cedar Leads the Pack
Western red cedar contains natural antimicrobial compounds that actively discourage mold and mildew growth. Beyond mold resistance, cedar offers:
- Dimensional stability through humidity swings
- Natural resistance to rot and decay
- Pleasant aroma that enhances the sauna experience
- Excellent insulating properties
Cedar-lined HomeSauna units represent a strong choice for mold-prone environments, particularly in humid climates or basement installations.
Design Features That Fight Mold
Look for these structural elements in the best home sauna brands 2026:
- Elevated benches: Allow airflow beneath seating surfaces
- Removable duckboards: Enable access for cleaning floor areas
- Strategic vent placement: Low intake near heater, high exhaust opposite
- Minimal hidden corners: Reduces areas where moisture can hide
Infrared vs. Traditional: Humidity Differences
Full-spectrum infrared sauna models generally run at lower humidity than steam-heavy traditional saunas, which can reduce mold risk. However, they still require proper ventilation and drying—sweat still saturates wood in your sauna regardless of the heat source.
HomeSaunas plug-and-play infrared models integrate low-EMF heaters and venting patterns that keep surfaces warm and dry efficiently between sessions. The faster heat-up time of infrared technology also means less time spent in the high-humidity transition period.
What Are the Special Considerations for Different Sauna Types?
The core principles remain consistent, but implementation details vary depending on your type of sauna.
Indoor Traditional Saunas
Indoor installations face unique challenges:
- Room ventilation is critical: Run a bath fan or HRV system during and after sessions
- Protect adjacent surfaces: Nearby drywall and paint can suffer condensation damage
- Extended door-open time: Keep the sauna door open until both the sauna and the surrounding room are completely dry
- Basement installations: Require extra vigilance due to typically poor airflow; consider dedicated exhaust fans
Outdoor Cabin Saunas
Outdoor saunas battle the elements with these best practices:
- Perform seasonal checks for roof leaks, especially after heavy snow
- Watch for splash back from irrigation systems or garden hoses
- Apply breathable covers during extended idle periods (vacation, off-season)
- Ensure exterior seals remain intact against rain intrusion
Barrel Saunas
The curved design creates specific vulnerable points:
|
Problem Area |
Prevention Strategy |
|
Lowest staves |
Ensure a slight tilt for drainage |
|
Under the door threshold |
Check seal integrity regularly |
|
Behind the rear benches |
Prop benches after use for airflow |
|
Exterior surface |
Periodic low-pressure washing |
Barrel saunas should be positioned with a slight tilt so rainwater naturally runs off rather than pooling on the wood.
Infrared Saunas
While humidity runs lower in an infrared sauna 1-person model, sweat still saturates surfaces:
- Maintain strict towel use on benches and floor mats
- Wipe heater protective guards after each session
- Clean glass doors to prevent residue buildup
- Follow the same door-open post-session protocol
Sauna Blankets and Portable Units
These fabric-based options, including infrared sauna blanket models, require different care:
- Fully air-dry unfolded after every use
- Never store while damp
- Keep in cool, dry locations between sessions
- Watch for mildew developing between fabric layers
How Do You Treat Mold If It Has Already Appeared?
Many owners only think about prevention after discovering spots. The good news: early intervention usually saves the wood in your sauna without requiring replacement.
Immediate Response Steps
- Stop using the sauna until treatment is complete
- Fully ventilate by opening all vents and the door
- Wear protection (gloves, N95 mask) if mold is extensive
- Identify all affected areas, including hidden back sides of benches and floor areas
Treatment Progression
Start with the least aggressive method and escalate only if needed:
Level 1: Mild Treatment
- Scrub with a soft-bristle brush
- Use a solution of equal parts warm water and white vinegar
- Rinse with clean water and dry thoroughly
Level 2: Moderate Treatment
- Apply a sauna-safe mold cleaner designed for softwoods
- Allow manufacturer-recommended dwell time
- Rinse and dry completely
Level 3: Stubborn Mold
- Mix approximately 1 cup of bleach per gallon of water (1:16 ratio)
- Apply carefully to affected areas only
- Allow 5–10 minutes dwell time
- Rinse thoroughly—multiple times
- Dry completely before using
Post-Treatment Restoration
Once the wood is dry:
- Lightly sand affected areas to remove residual staining
- Vacuum all dust
- Wipe with a damp cloth
- Run a heat cycle at 140–160°F with vents open to ensure complete drying
When to Call a Professional
If mold returns rapidly after treatment, or if you discover growth deep in structural members, consult a professional. Hidden leaks or inadequate ventilation may require renovation beyond surface treatment.
Critical reminder: After any remediation, improving your airflow, drying routine, and humidity control prevents recurrence. Treating mold without fixing the underlying cause guarantees it will return.
Protect Your Investment for Years to Come
Preventing mold in your sauna isn't complicated—it requires consistent habits rather than elaborate systems. The proven methods to prevent mold growth come down to:
- Airflow: Ensure good ventilation during and after every session
- Drying: Run heat with the door open for at least half an hour post-session
- Cleaning: Regular cleaning catches problems before they spread
- Materials: Quality woods like cedar and untreated interior surfaces
Whether you own a brand-new infrared sauna or maintain a seasoned outdoor traditional sauna, these fundamentals apply universally. Your next sauna session should end with a few minutes of maintenance—a small investment that protects your larger investment in home sauna wellness.
HomeSaunas designs infrared and traditional saunas with these principles built in: optimized vent placement, premium cedar construction, and thoughtful details that make proper care intuitive. Explore our collection to find a sauna engineered for long-term performance in any environment.
FAQs
Can high heat alone kill mold in my sauna?
While high heat above 140–160°F can stress active mold colonies, spores are remarkably resilient and survive these temperatures. Research from the EPA shows that once conditions become favorable again—meaning moisture returns—those surviving spores reactivate. Heat is part of the solution because it accelerates drying, but it must be combined with proper ventilation and regular cleaning to be effective.
How often should I deep clean my sauna if I use it 3–4 times per week?
With that usage level, perform a quick wipe-down after every session (5 minutes), a visual inspection weekly (looking for any spots, musty smells, or dirt accumulation), and a deeper clean with light sanding and stone rinsing every 4–6 weeks. This schedule prevents minor issues from becoming major remediation projects and maintains optimal sauna health benefits.
Is it safe to use essential oils or fragrances if I'm worried about mold?
Essential oils don't prevent mold—they're purely aromatic. You can use them sparingly on water ladles or in diffusers for enjoyment, but they don't replace cleaning or maintenance. In fact, oils can leave a residue on wood that can feed surface grime if not cleaned periodically. Enjoy your fragrances with the best sauna accessories 2026, but maintain your regular cleaning schedule.
What indoor humidity level around my sauna is ideal to avoid mold in adjacent rooms?
Keep the room where your sauna is located at roughly 30–50% RH with good ventilation. According to building science experts, steam escaping from the sauna can condense on cooler surfaces, such as ceilings, windows, and drywall, if the surrounding space is already humid. A hygrometer in the room helps you monitor conditions and know when to run ventilation fans or a dehumidifier.
Should I run a dehumidifier in the same room as my indoor sauna?
A correctly sized dehumidifier can be very helpful in poorly ventilated spaces—but position it in the room outside the sauna cabin, not inside the sauna itself. Operating a dehumidifier inside the hot zone exposes it to temperatures it isn't designed for and creates potential electrical hazards. Place it in the surrounding room where it can capture moisture that escapes during and after sessions.
References
- NIH National Library of Medicine – “Illness Resulting from Exposure to Water-Damaged Buildings, Mold, and Mycotoxins.”
- Centers for Disease Control and Prevention (CDC) – "Basic Facts about Mold and Health Risks."
- Sun Home Saunas – “Preventing Mold in Outdoor Saunas: Ventilation Best Practices.”
- Environmental Protection Agency (EPA) – "A Brief Guide to Mold, Moisture, and Your Home."
- Building Science Corporation (BSC) – "BSD-013: Rain Control in Buildings."