
Your home sauna has been a sanctuary for stress relief and recovery. But lately, something feels off. The room takes longer to heat, the steam doesn't hit quite right when you pour water over the stones, or maybe you've noticed strange smells that weren't there before. These are signals that your heater might be reaching the end of its life.
Replacing a sauna heater isn't a weekend project you should take lightly, but it's also not as intimidating as it might seem. With the right preparation, proper sizing, and respect for electrical safety, you can restore your home sauna wellness experience to what it should be—or even upgrade it to something better.
This guide walks you through everything from recognizing when replacement makes sense to selecting the right unit, handling the physical installation, and ensuring your new heater delivers optimal sauna health benefits for years to come.
Key Takeaways
- Most residential sauna heaters need replacement roughly every 8-15 years, or sooner if heat output weakens, you experience frequent breaker trips, or corrosion becomes visible on the elements.
- Choosing the correct kW size for your sauna volume (e.g., 6-8 kW for a typical 200-300 cu ft. room) is critical before purchasing any replacement unit.
- All electrical work must be done with power completely off at the breaker and ideally verified by a licensed electrician for safety and code compliance.
- Stone placement significantly affects both heat distribution and heater longevity—proper stacking with air gaps prevents element damage.
- HomeSauna.com can help homeowners choose a modern, low-EMF, energy-efficient heater or a complete indoor 2-person infrared sauna cabin if the old unit is beyond repair.
When Do You Really Need to Replace Your Sauna Heater?
Failing sauna heaters usually show symptoms months in advance. The challenge is distinguishing between minor issues that warrant repair and fundamental problems where replacement is the only sensible option.
Understanding the signs helps you make informed decisions about your luxury home sauna investment.
Performance Signs That Point to Replacement
- Heat-up time has doubled—if your sauna now takes 70-80 minutes to reach 180°F instead of the 30-40 minutes it once did, the heating elements are likely degraded beyond practical repair.
- The sauna stalls at 140-150°F and can't go higher, no matter how long you wait.
- One side of the room feels notably cooler than the other, indicating an uneven heat distribution caused by failing elements.
- The thermostat reads one temperature while the actual air feels significantly different.
Safety Symptoms Requiring Immediate Attention
- Breakers tripping during warm-up or when you pour water on the stones—investigate immediately if this happens more than once.
- Persistent burning or electrical smell after years of normal operation.
- Visible arcing or sparking inside the heater compartment.
- Unusual buzzing, popping, or crackling sounds during heating cycles.
Visible Wear Indicators
- Rusted or pitted elements that show significant metal deterioration
- Cracked or flaking metal on the heater housing or element supports
- Severe discoloration on terminals or wiring connections
- Corrosion buildup around electrical connection points
Note: Lifespan can also be affected by the salt content of the water you sprinkle on the rocks, as higher salt levels can cause rust and shorten the heater's lifespan.
The Practical Decision Point
If your heater is older than 10-15 years and shows multiple issues—slow heating, unusual smells, frequent breaker trips—replacement is generally safer and more cost-effective than attempting another round of repairs.
If you are using your home sauna heater 1-2 times per week, it could last you 8-12+ years. The wear and tear accumulated over a decade of use means that fixing one problem often reveals two more.
It's essential to consider the heater's lifespan. Most sauna heaters have a general lifespan of 5 to 20 years, according to industry standards from Select Saunas.
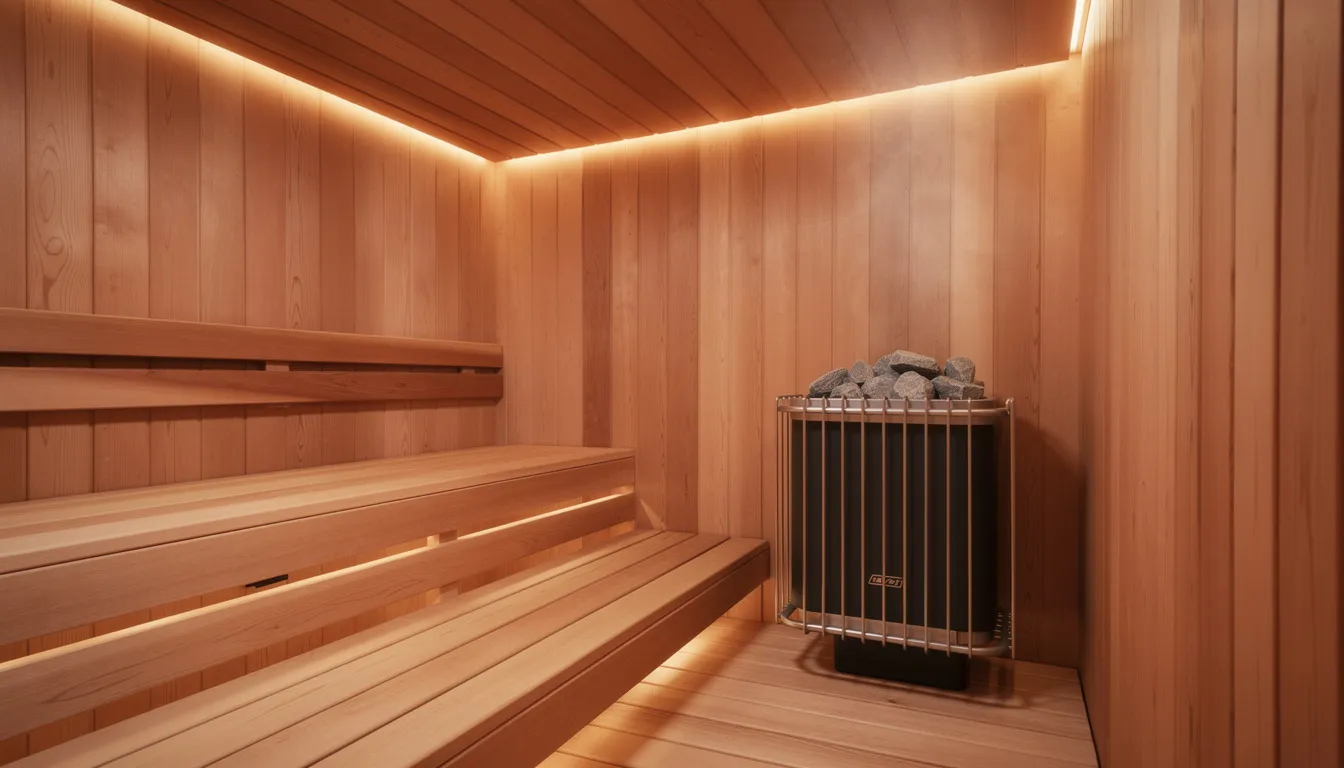
What Are the Key Components of a Sauna Heater?
A sauna heater is more than just a box that gets hot—it's a carefully engineered appliance designed to deliver a safe, effective, and enjoyable sauna experience. Understanding these components helps you maintain your home infrared sauna installation properly.
Essential Heater Components
At the heart of every sauna heater are the heating elements, usually made from durable metal alloys, which convert electricity into the radiant heat that fills your sauna room. These elements are essential for generating the consistent, enveloping warmth that defines a quality sauna session.
The control panel acts as the brain of the heater, allowing you to set and regulate the temperature for normal operation. Modern control panels often include digital displays and safety features, making it easier to maintain your preferred heat level and monitor the system's status.
Importance of Proper Ventilation
Proper ventilation in the sauna room is also crucial. Good airflow helps manage humidity, prevents excessive moisture buildup, and protects the heater's internal components from corrosion. Without proper ventilation, even the best heating elements can suffer premature wear, shortening the heater's lifespan.
Understanding how these components work together is essential for troubleshooting issues, performing routine maintenance, and ultimately extending the life of your sauna heater. By keeping an eye on the heating elements, ensuring the control panel is functioning correctly, and maintaining proper ventilation, you'll protect your investment and enjoy a reliable sauna experience for years to come.
How Do You Choose the Right Replacement Sauna Heater?
Correct sizing and type selection determine both safety and comfort. For electric heaters, a general rule is to provide approximately 1 kW of power for every 40-50 cubic feet of sauna volume. If your sauna has insulated surfaces, you may need to increase the power requirement by 15-30% to compensate for heat loss.
An undersized heater will struggle to reach proper temperatures, while an oversized unit wastes electricity and can create uncomfortable hot spots. For small sauna rooms, consider electric heaters designed for compact spaces. These models often feature reduced safety distances, compact size, and optimized energy consumption to ensure efficient heating and lower operating costs.
Calculating Heater Size by Sauna Volume
Start by measuring your sauna room: length × width × height in feet. For example, a room measuring 6 ft. × 5 ft. × 7 ft. equals 210 cubic feet.
The general rule for electric sauna heaters is approximately 1 kW per 40-50 cubic feet of sauna volume. However, several factors can adjust this baseline:
|
Room Volume (cu ft.) |
Recommended Heater Size |
Notes |
|
100-150 |
3-4.5 kW |
Small infrared sauna 1-person units |
|
150-200 |
4.5-6 kW |
Compact two-person rooms |
|
200-300 |
6-8 kW |
Typical home sauna for sale installations |
|
300-450 |
8-10.5 kW |
Larger custom builds |
|
450+ |
10.5+ kW |
Commercial or large outdoor units |
Adjust upward if your sauna has significant glass doors or windows, poor insulation, or is located in an unheated space, such as a garage. Manufacturer charts provide specific guidance, but these ranges give you a solid starting point.
Traditional Electric vs. Infrared vs. Wood-Burning
Traditional electric heaters use sauna stones heated by elements. When you pour water on the hot rocks, you create löyly—that essential steam that defines the authentic sauna experience. These heaters work well for those who want the classic ritual.
Infrared systems warm your body directly through radiant panels rather than heating the air. They operate at lower air temperatures (typically 120-150°F versus 170-190°F for traditional) and don't use stones. Many users appreciate the gentler heat and shorter warm-up times, making them popular for 2-3-person home sauna benefits.
Wood-burning stoves are suitable for off-grid installations or outdoor infrared sauna setups where electricity isn't practical. They offer an authentic experience but require more maintenance and don't allow precise temperature controls.
Modern Features Worth Considering in 2026
If you're replacing a heater from the 1990s or early 2000s, you'll find that today's best home sauna brands 2026 units offer significant upgrades:
- Wi-Fi or app controls for remote start and temperature monitoring
- Digital wall panels replacing mechanical dials
- Programmable start times so your sauna is ready when you arrive home
- Improved insulation for faster heating and lower electricity costs
- Low-EMF designs that minimize electromagnetic field exposure
- Enhanced safety sensors and automatic overheat protection
At HomeSauna, we specialize in premium low-EMF infrared cabins and high-quality traditional home heaters. Our team can help match heater models to typical 180-250 cu ft. home sauna rooms, ensuring you get the right fit for your space and usage patterns.
What Preparation Is Required for Heater Replacement?
Safety and code compliance aren't optional—they're essential to protecting both your home and your investment. Before touching any wiring, complete these preparation steps to ensure a safe home infrared sauna installation.
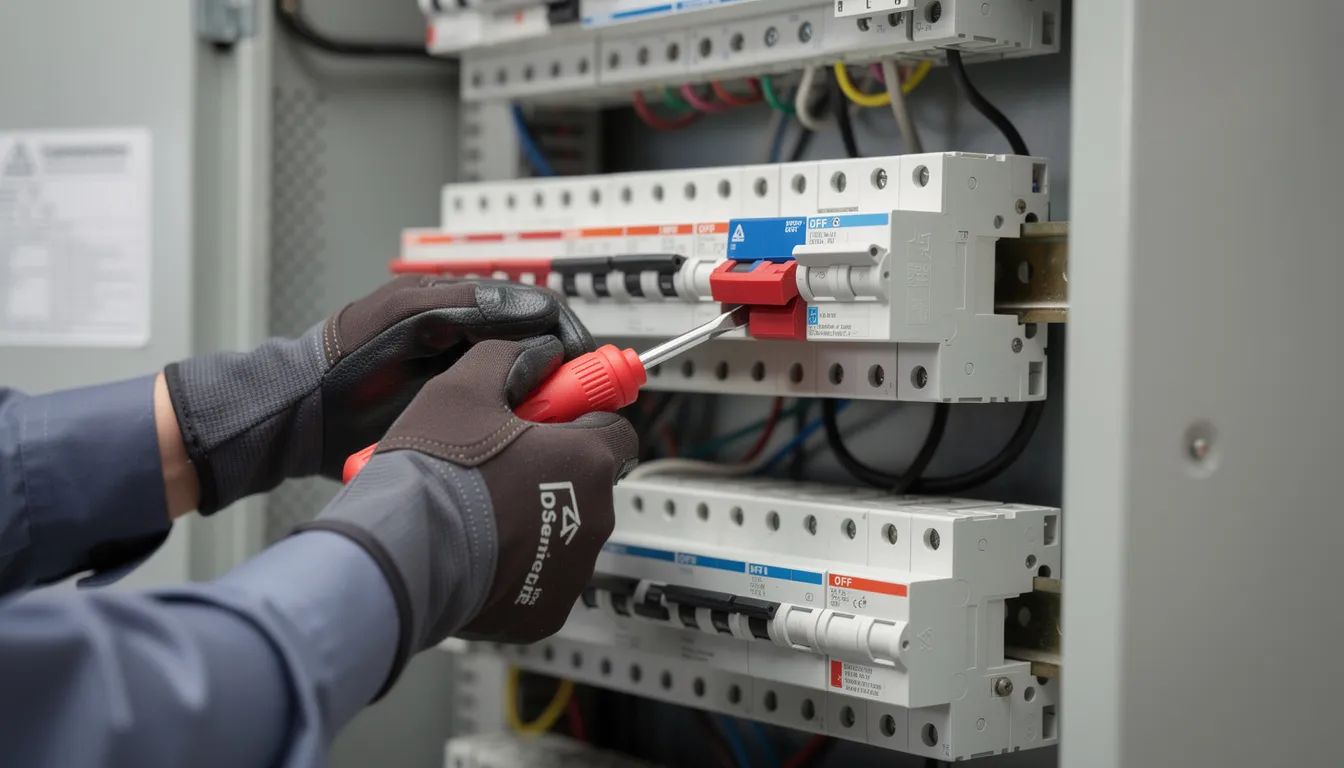
Power Disconnection Protocol
- Switch off power at the main breaker supplying the sauna circuit—not just the wall switch
- Verify power is truly off using a non-contact voltage tester at the heater's wiring compartment
- Consider having someone double-check the breaker box to confirm the correct circuit is shut off
- Post a note on the breaker panel to prevent accidental re-energization
Understanding Your Electrical Setup
Typical residential sauna wiring uses:
- 240V with two hot conductors and a ground
- 8 AWG or 10 AWG copper wire for 6-8 kW heaters
- Dedicated circuit with appropriately sized breaker
Before purchasing a new heater, verify that your existing electrical capacity matches the new unit's requirements. An 8 kW heater at 240V draws approximately 33 amps, requiring a 40A breaker and appropriately rated wire, according to National Electrical Code standards.
Important: If you're upgrading from a 5 kW to an 8 kW unit, an electrician must evaluate whether your existing wiring and breaker can handle the increased load. This isn't a DIY determination.
Tools and Supplies Checklist
Gather these before starting:
- Insulated screwdriver set (Phillips and flathead)
- Nut driver set for terminal connections
- Adjustable wrench
- A camera or a phone for documenting wiring connections
- High-temperature wire labels or tape
- Manufacturer's installation manual for the new heater
- New sauna stones if your current set is more than 3-5 years old
- Work gloves and safety glasses
In most U.S., Canadian, and EU jurisdictions, permanent 240V sauna wiring should be installed or, at a minimum, inspected by a licensed electrician to maintain code compliance and insurance validity.
How Do You Remove the Old Sauna Heater?
Removing an aging heater—especially models from the 1980s through early 2000s—can be the most physically demanding step. These units are heavy, and years of exposure to humidity may have corroded the mounting hardware.
Stone Removal
Begin by carefully removing all stones from the heater:
- Place stones in a sturdy bucket or container
- Inspect each stone for cracks, crumbling, or significant deterioration
- Discard any damaged stones—don't reuse them in your new heater
- Note that a 5-8 kW wall unit may hold 80-200 lbs. of stone, so lift carefully and use proper body mechanics
Accessing the Wiring Compartment
With stones removed:
- Remove the front or top panels according to your heater's manual
- Locate and expose the wiring compartment cover
- Take clear, well-lit photos of all electrical connections before touching anything
- Document the positions of L1, L2, ground, and any low-voltage control wires
Disconnecting Electrical Connections
Working methodically:
- Disconnect power conductors one at a time
- Label each conductor clearly (masking tape and a marker work well)
- Document which terminal each wire is connected to
- Remove the ground connection last
- Note any control panel wiring that connects to a separate wall-mounted thermostat or timer
Physical Removal
Most wall-mounted heaters use a bracket system:
- Back out the lower mounting screws first
- The heater typically hangs on the upper keyhole brackets
- Use the upper brackets as pivot points to pull the heater away from the wall
- Lift the unit off the upper brackets carefully
- Move the old heater out of the sauna room without gouging walls or benches
Post-Removal Inspection
Before installing the new heater, examine the wall and floor area:
- Look for scorched spots indicating previous clearance problems
- Check for moisture damage behind the old mounting location
- Verify that your existing clearances meet the new heater's requirements
- Address any issues before proceeding with installation
What Are the Steps for Installing the New Sauna Heater?
Detailed wiring work should be performed or inspected by a licensed electrician. The following covers physical mounting and the general connection sequence for your 1-person home sauna or larger installation.
Positioning and Mounting
Use the manufacturer's mounting template to establish:
- Correct height from floor (typically 4-6 inches minimum for wall units)
- Required clearances from side walls (often 2-4 inches)
- Distance from benches and seating areas (usually 8-12 inches minimum)
- Confirm that wall framing and fire protection meet the new heater's specifications
Hang the heater on wall brackets or position it on its floor stand. Verify the unit is level and all clearances are maintained. An appropriately sized unit in the correct position ensures safe operation and optimal heat distribution throughout your sauna room.
Electrical Connection Sequence
With the heater mounted and level:
- Match L1 and L2 (or equivalent terminals) from the supply to the new terminal block
- Attach the ground wire to the dedicated grounding lug
- Connect any control cables (low-voltage sensor wires, control panel lines) exactly as indicated in the wiring diagram
- Torque all terminal screws to manufacturer specifications to prevent hot spots
- Reinstall the wiring compartment cover completely before energizing
Initial Test Run
The first test should be supervised and methodical:
- Turn the breaker back on
- Set the heater to a moderate temperature (not maximum)
- Run for 30-60 minutes with the sauna door cracked slightly for airflow
- A light "new metal" smell during the first two or three heat cycles is normal
- Watch for any smoke, sparking, or unusual sounds
How Do You Place Sauna Stones for Performance and Longevity?
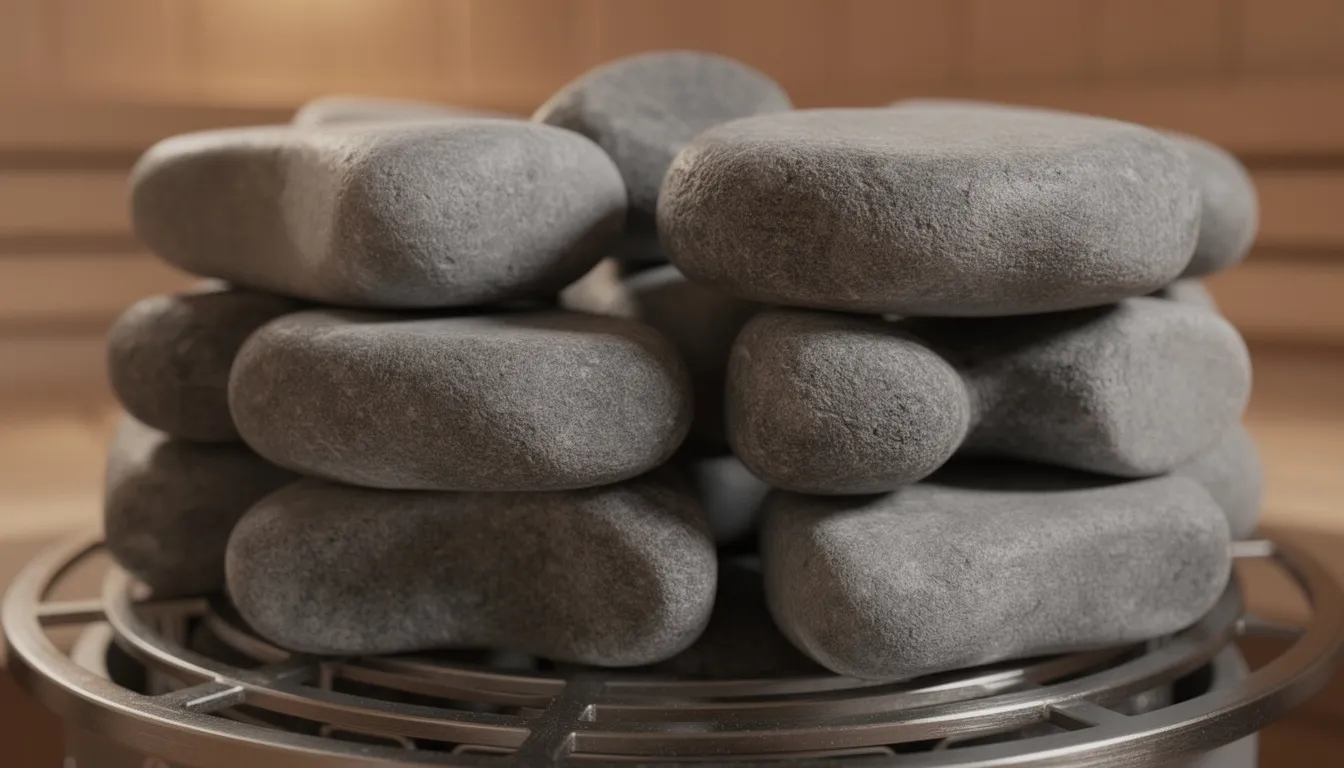
Stone layout has a significant impact on both heat quality and the heater's lifespan. Rushed or incorrect stone placement is one of the most common causes of premature element failure.
Stone Selection Requirements
Use only manufacturer-approved dense, non-porous sauna stones:
- Peridotite and olivine diabase are common choices
- Never use river rocks, decorative stones, or random fieldstone
- Typical quantities range from 40-50 lbs. for compact wall units to 200 lbs. for large pillar heaters
- Purchase stones from sauna suppliers, not landscaping stores
Proper Stacking Method
Build your stone arrangement strategically:
|
Layer |
Stone Size |
Purpose |
|
Bottom |
Largest stones |
Create airflow channels, support weight |
|
Middle |
Medium stones |
Build thermal mass, maintain gaps |
|
Top |
Smaller stones |
Provide surface for water, even löyly |
The key principle: maintain visible air gaps throughout. Heated air must flow freely through the stones. Tight packing suffocates the elements, causing them to overheat and fail prematurely.
Critical warning: Never let stones rest directly on heating elements. Stones should be supported by the internal grate, with small gaps to prevent water from hitting bare metal coils when you pour water for steam.
Seasonal Maintenance Schedule
Extend the life of both stones and the heater with regular attention:
- Every 3-4 months: Check stones for cracks, re-stack if they've settled
- Annually: Remove all rocks, inspect elements, and clean debris from the heater interior
- Every 2-3 years: Fully replace the stone set for heavy users (3+ sessions weekly)
Well-maintained stones preserve heat quality and protect your investment in the new heater.
What Special Considerations Apply to Infrared and Hybrid Systems?
Replacing panel-style infrared systems differs substantially from swapping a traditional stone heater. The approach, tools, and decision-making process each require different considerations for your sauna.
Infrared Panel Replacement
Most infrared cabins use wall and floor panels rather than a central stone heater:
- Replacement typically involves changing carbon or ceramic emitters, control boards, and temperature sensors
- The control panel and wiring systems differ from traditional heaters
- Panel replacement requires removing interior trim and benches in many designs
- Low-EMF routing is critical—improperly installed panels can increase electromagnetic exposure
For many homeowners, the complexity of infrared panel replacement makes a complete cabin upgrade more practical than retrofitting failing panels into an aging frame.
Hybrid System Decisions
Hybrid setups combine traditional stones with infrared panels, offering versatility but doubling the potential for failure. When a 10+ year old hybrid system fails:
- Repairing both systems can approach the cost of new equipment
- Technology has improved significantly—new full-spectrum infrared cabins offer better controls and low-EMF certification
- A complete replacement often provides better long-term value
When Complete Replacement Makes Sense
HomeSauna can advise homeowners on the most practical path forward:
- Retrofitting an existing room with new infrared panels
- Installing a complete pre-engineered infrared sauna or an outdoor infrared sauna traditional unit
- Upgrading from an older technology to a modern full-spectrum infrared sauna
Sometimes the most cost-effective solution isn't repair—it's recognizing when the old appliance has reached the end of its useful life and investing in equipment that will serve you for the next decade.
How Do You Troubleshoot Common Heater Issues?
Even the best sauna heater can develop problems over time, but catching and addressing them early can save you from bigger headaches down the road. Some of the most common signs that your sauna heater needs attention include frequent breaker trips, strange smells during operation, or the room taking much longer to heat up than usual.
Initial Diagnostic Steps
Start by checking the wiring and electrical connections for any visible damage, loose terminals, or signs of corrosion. Faulty or failing elements—such as worn-out heating elements or a malfunctioning thermostat—can also cause uneven heat distribution or prevent the heater from reaching the desired temperature. Inspect the sauna stones as well; if they're not correctly sized or arranged, they can block airflow and put extra stress on the elements.
When to Call a Professional
If you encounter persistent issues, such as repeated breaker trips or lingering odors, it may be time to consult a professional or consider replacing the heater.
Regular maintenance, like cleaning the control panel and inspecting for minor issues, can help prevent these problems from escalating.
Remember, addressing common signs early and keeping your sauna heater in good repair will ensure safe, efficient heat and a better sauna experience.
What Post-Installation Testing and Care Is Required?
Correct commissioning ensures both safety and optimal heat performance. Don't rush this phase—proper testing protects your investment. When testing your new sauna heater, keep in mind that typical sauna sessions last about an hour, so monitor its performance and temperature stability for that duration.
Initial Test Protocol
Run a supervised break-in session:
- Heat the sauna to typical bathing temperature (170-190°F for traditional, 120-150°F for infrared)
- Monitor for 45-60 minutes minimum
- Confirm the heater cycles on and off normally as the thermostat regulates temperature
- Verify all controls respond correctly
- Watch the breaker—it should not trip during regular operation
Understanding Normal vs. Warning Signs
|
Normal (First 2-3 Sessions) |
Warning Signs (Investigate Immediately) |
|
Slight odor from curing finishes |
Strong burning plastic smell |
|
Quiet relay clicking |
Loud buzzing or humming |
|
Light metallic smell |
Popping or crackling sounds |
|
Minor stone settling sounds |
Visible smoke or discoloration |
Ongoing Maintenance Practices
Protect your investment with regular care:
- Monthly: Wipe heater surfaces with a dry or lightly damp cloth; avoid abrasive cleaners
- After each session, ensure proper ventilation by leaving the door open to allow humidity to escape
- Quarterly: Check stones for cracks and re-stack as needed
- Annually: Have an electrician visually inspect wiring terminals; look for corrosion on elements
- Keep ventilation grilles and airflow pathways clear of dust and debris
For ongoing care, regular sauna maintenance is crucial. Dust, oils, and minerals can accumulate on heater surfaces and should be cleaned regularly to maintain efficiency and safety.
Additionally, routine inspections of electrical components can prevent minor issues from evolving into costly repairs. Always check that essential safety features, such as built-in overheat protection, are functioning correctly to ensure your sauna heater operates safely.
Never Do This
- Pour large volumes of water directly on stones—moderate amounts create steam; flooding damages elements.
- Block the air intake or exhaust vents
- Store towels or accessories on or against the heater
- Ignore strange smells or sounds after the break-in period
Enhancing Your Sauna Experience

Once your heater is successfully replaced and running smoothly, consider upgrading the complete sauna experience over time:
- Add sauna red light therapy kit panels for enhanced recovery benefits
- Install a HomeSauna cold plunge tub for contrast therapy
- Explore a new low-EMF infrared sauna indoor 2-person cabin if your sauna room itself is aging
A high-quality home sauna is a long-term investment in wellness. The heater replacement you complete today sets the foundation for years of restorative sessions ahead.
What Tips Help Extend the Lifespan of a Sauna Heater?
Protecting your sauna heater and getting the most out of your investment comes down to a few essential habits. These practices ensure you maximize the benefits and wellness outcomes of the infrared sauna.
Essential Maintenance Habits
First, make sure your sauna room is well-ventilated—this helps control humidity and prevent corrosion, both of which are key to extending the life of your heater.
Regularly inspect the heating elements for signs of wear or damage, and replace them as needed to maintain efficient heat output.
Keep the control panel clean and free of dust or debris; a well-maintained control system ensures normal operation and accurate temperature regulation.
When arranging sauna stones, follow the manufacturer's guidelines to promote even heat distribution and prevent stress on the elements. Pour water on the rocks in moderation to enjoy refreshing steam, but avoid overloading the heater, which can shorten its lifespan.
When to Upgrade
If your heater requires frequent repairs or is nearing the end of its lifespan, consider upgrading to a new one to maintain a high-quality sauna experience. By following these tips—regular maintenance, proper ventilation, and attentive use—you'll extend the life of your sauna heater, protect your investment, and enjoy relaxing, restorative sessions for years to come.
FAQs
How long does a typical home sauna heater last before it needs to be replaced?
Well-maintained residential electric heaters often last 8-15 years, depending on usage frequency, environmental conditions, and build quality, according to Aqua Vita Spas’ lifespan studies. Heavy users running daily sessions may see shorter lifespans, while occasional users may extend their heater's lifespan beyond 15 years with proper care.
Can I install a more powerful heater than my old one?
Upsizing is possible only if your wiring, breaker, clearances, and ventilation are upgraded to match. A licensed electrician should perform this evaluation in accordance with the new heater's specifications. Installing an 8 kW heater on wiring rated for 5 kW creates a serious fire hazard.
Do I need to replace the stones when I replace the heater?
Strongly recommended. Old, cracked stones can damage new elements and reduce heating efficiency. Starting with a fresh, properly stacked stone set is ideal—think of it as part of the complete replacement rather than an optional upgrade. This ensures optimal value for your investment in an infrared sauna.
Can I switch from a traditional heater to an infrared system in the same room?
Infrared requires different wall construction, wiring configurations, and clearances than a stone heater. It's often easier and more effective to install a dedicated indoor 2-person infrared sauna from a brand like HomeSauna than to convert an existing traditional sauna room.
Is DIY replacement allowed, or do I have to use an electrician?
While some homeowners remove and mount heaters themselves, permanent 240V connections and control wiring should be handled by a licensed electrician or at least inspected by one. This ensures compliance with local electrical code and keeps manufacturer warranties valid. The physical mounting is straightforward; the electrical work is where professional involvement protects you.
Replace Your Home Sauna Heater with Confidence Today!
A properly replaced sauna heater transforms your wellness space from a maintenance concern into a reliable sanctuary. Whether you're upgrading an aging traditional unit or considering a complete transition to the best infrared sauna for home cabin, the investment in quality equipment and proper installation pays dividends in every session.
If you're unsure which direction makes sense for your situation—repair, replace, or upgrade entirely—the team at HomeSauna is ready to help you evaluate your options and find the right solution for your home wellness goals.
References and Citations
- Sun Home Saunas – Why Infrared Sauna Heater Won’t Work: 5-Step Diagnostic Guide
- Select Saunas – Sauna Heater Lifespan: How Often Should You Replace Your Sauna Heater?
- Haven of Heat – Signs Your Sauna Heat is Failing (When to replace It)
- National Fire Protection Association (NFPA) – NFPA 70 (NEC) Code Development
- Aqua Vita Spas – How Long Do Saunas Last?